Does Kinesiological Tape Really Work?

I was first introduced to Kinesiological (Kinesio) style taping during a continuing education class in 2005.  Since then, this style of taping has exploded in the mainstream with athletes and celebrities alike wearing it.  Research on this modality was initially scant.  Today there are over 540 published studies with even more antidotal testimony!  Although the research is ongoing and published regularly, I get asked all the time about what can you use Kinesiological tape for and how exactly it works.  I will review three theories on how Kinesiological tape actually works and the different reasons for using it.

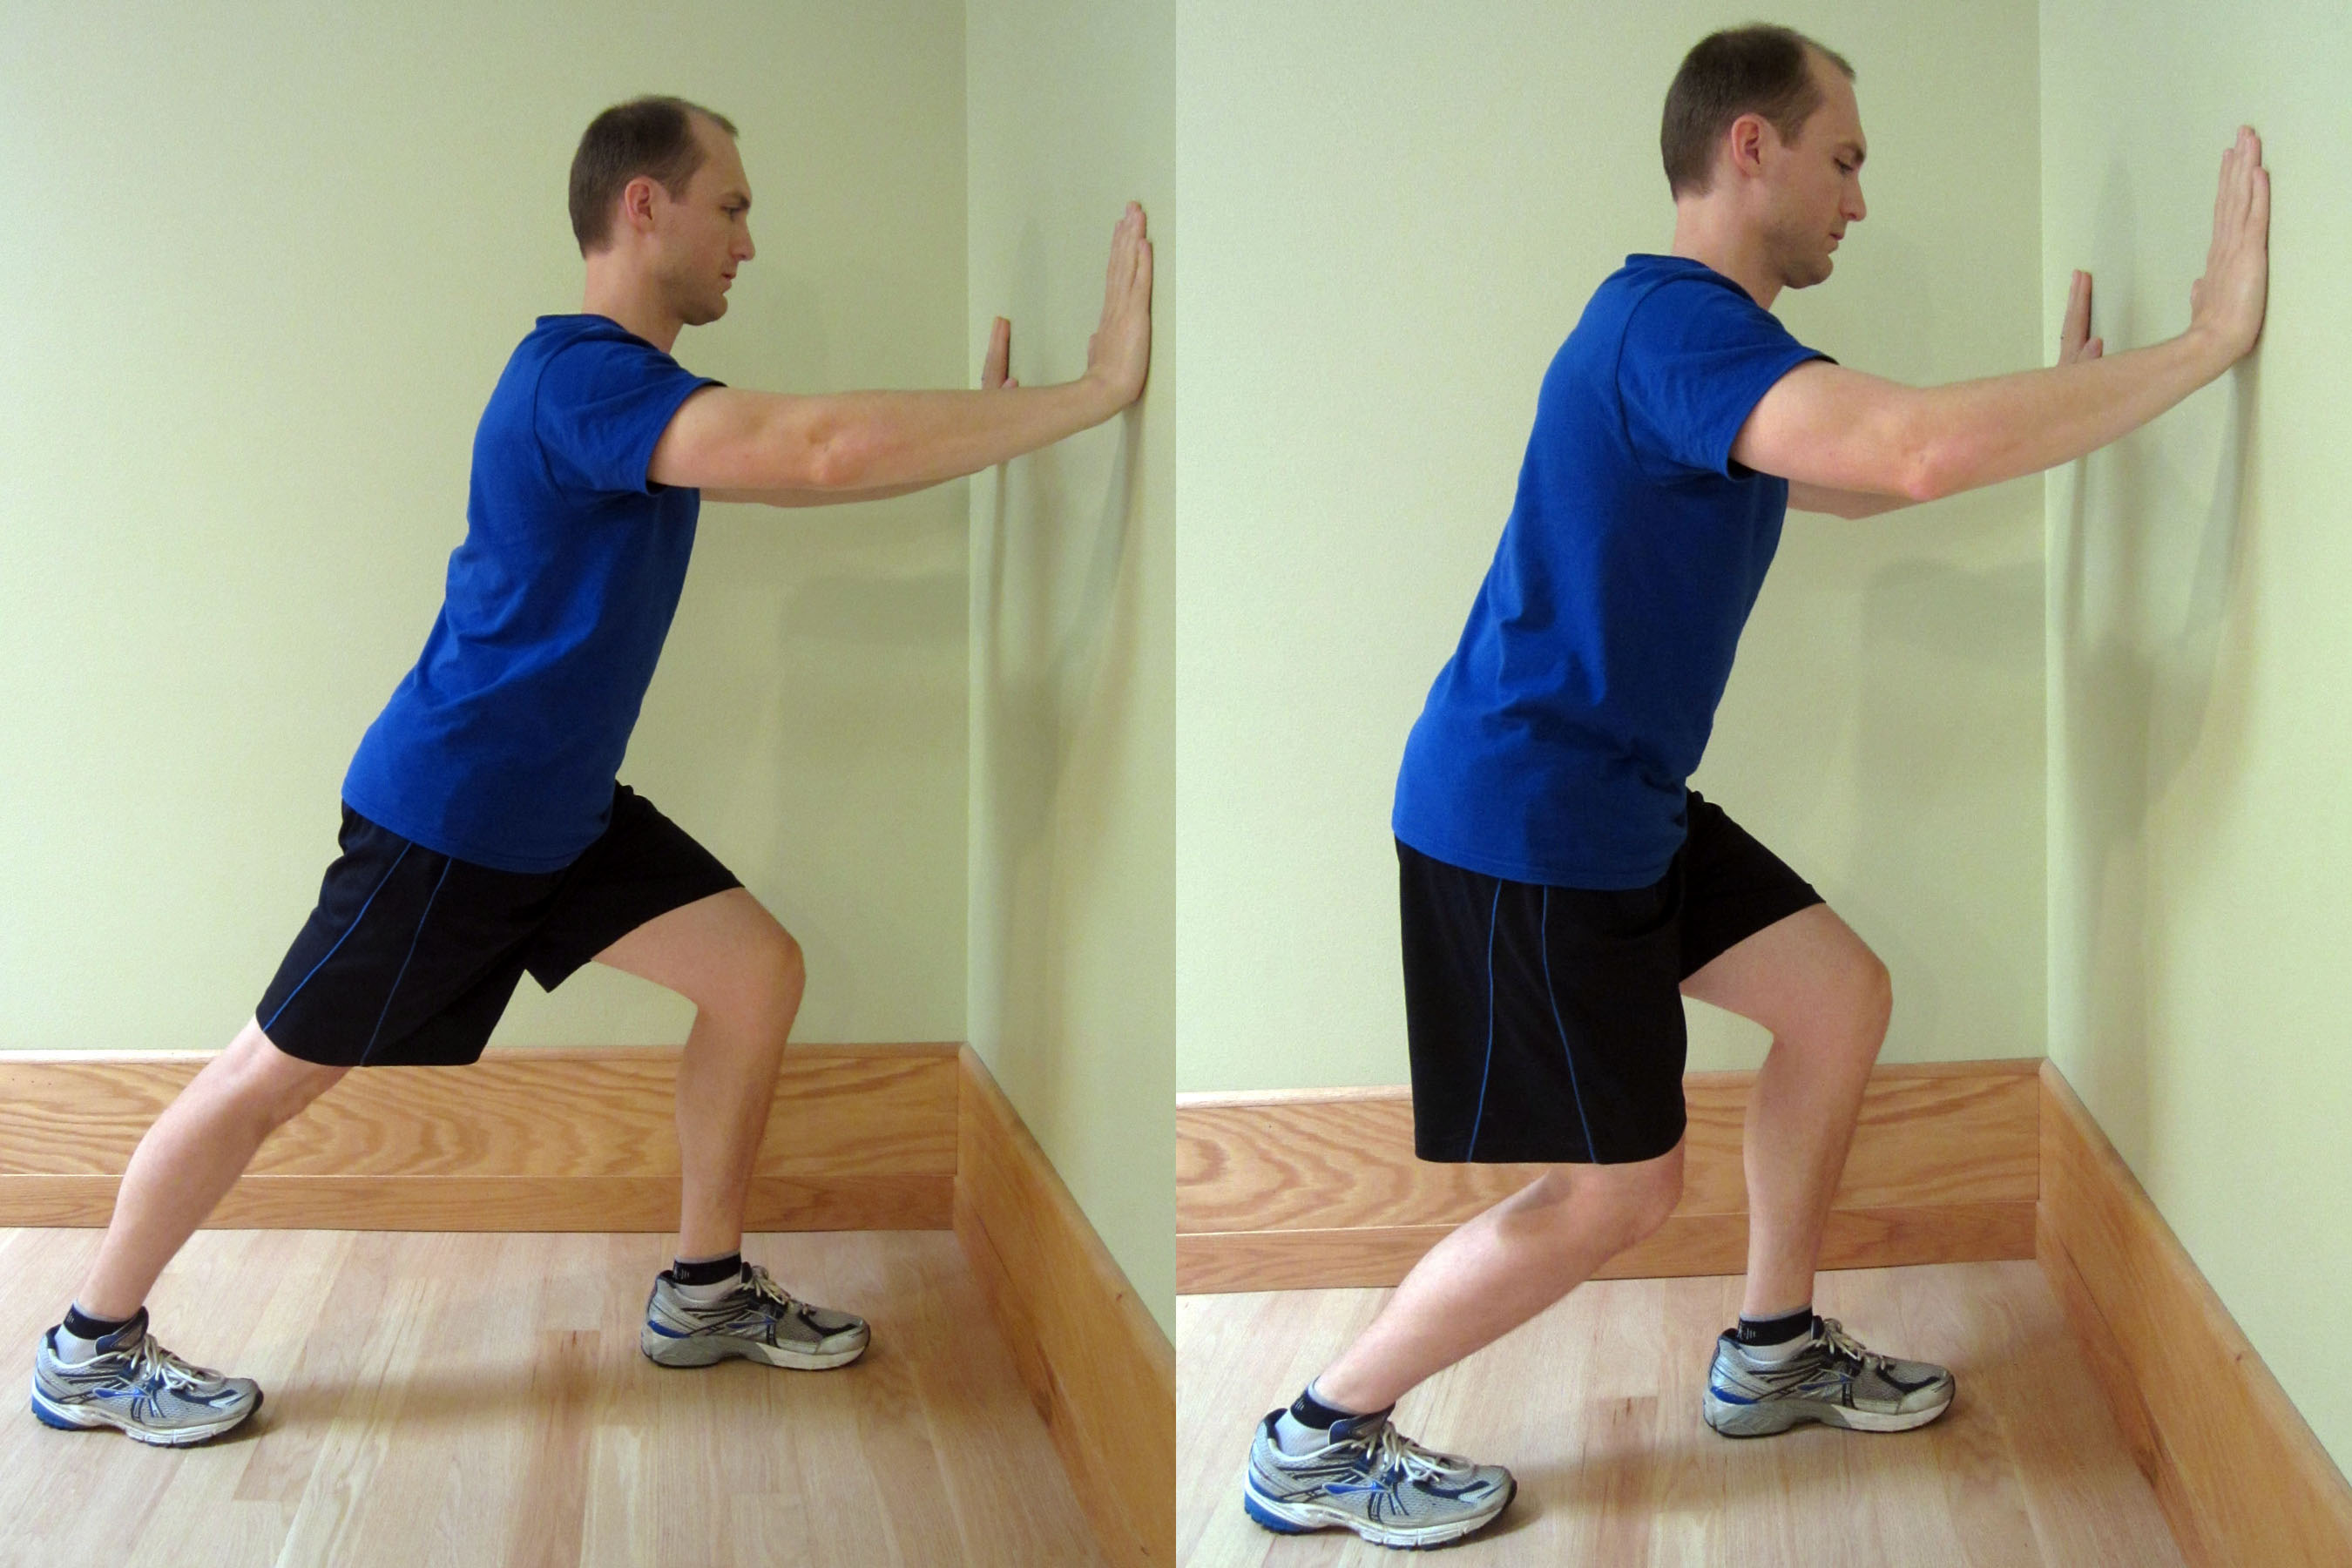
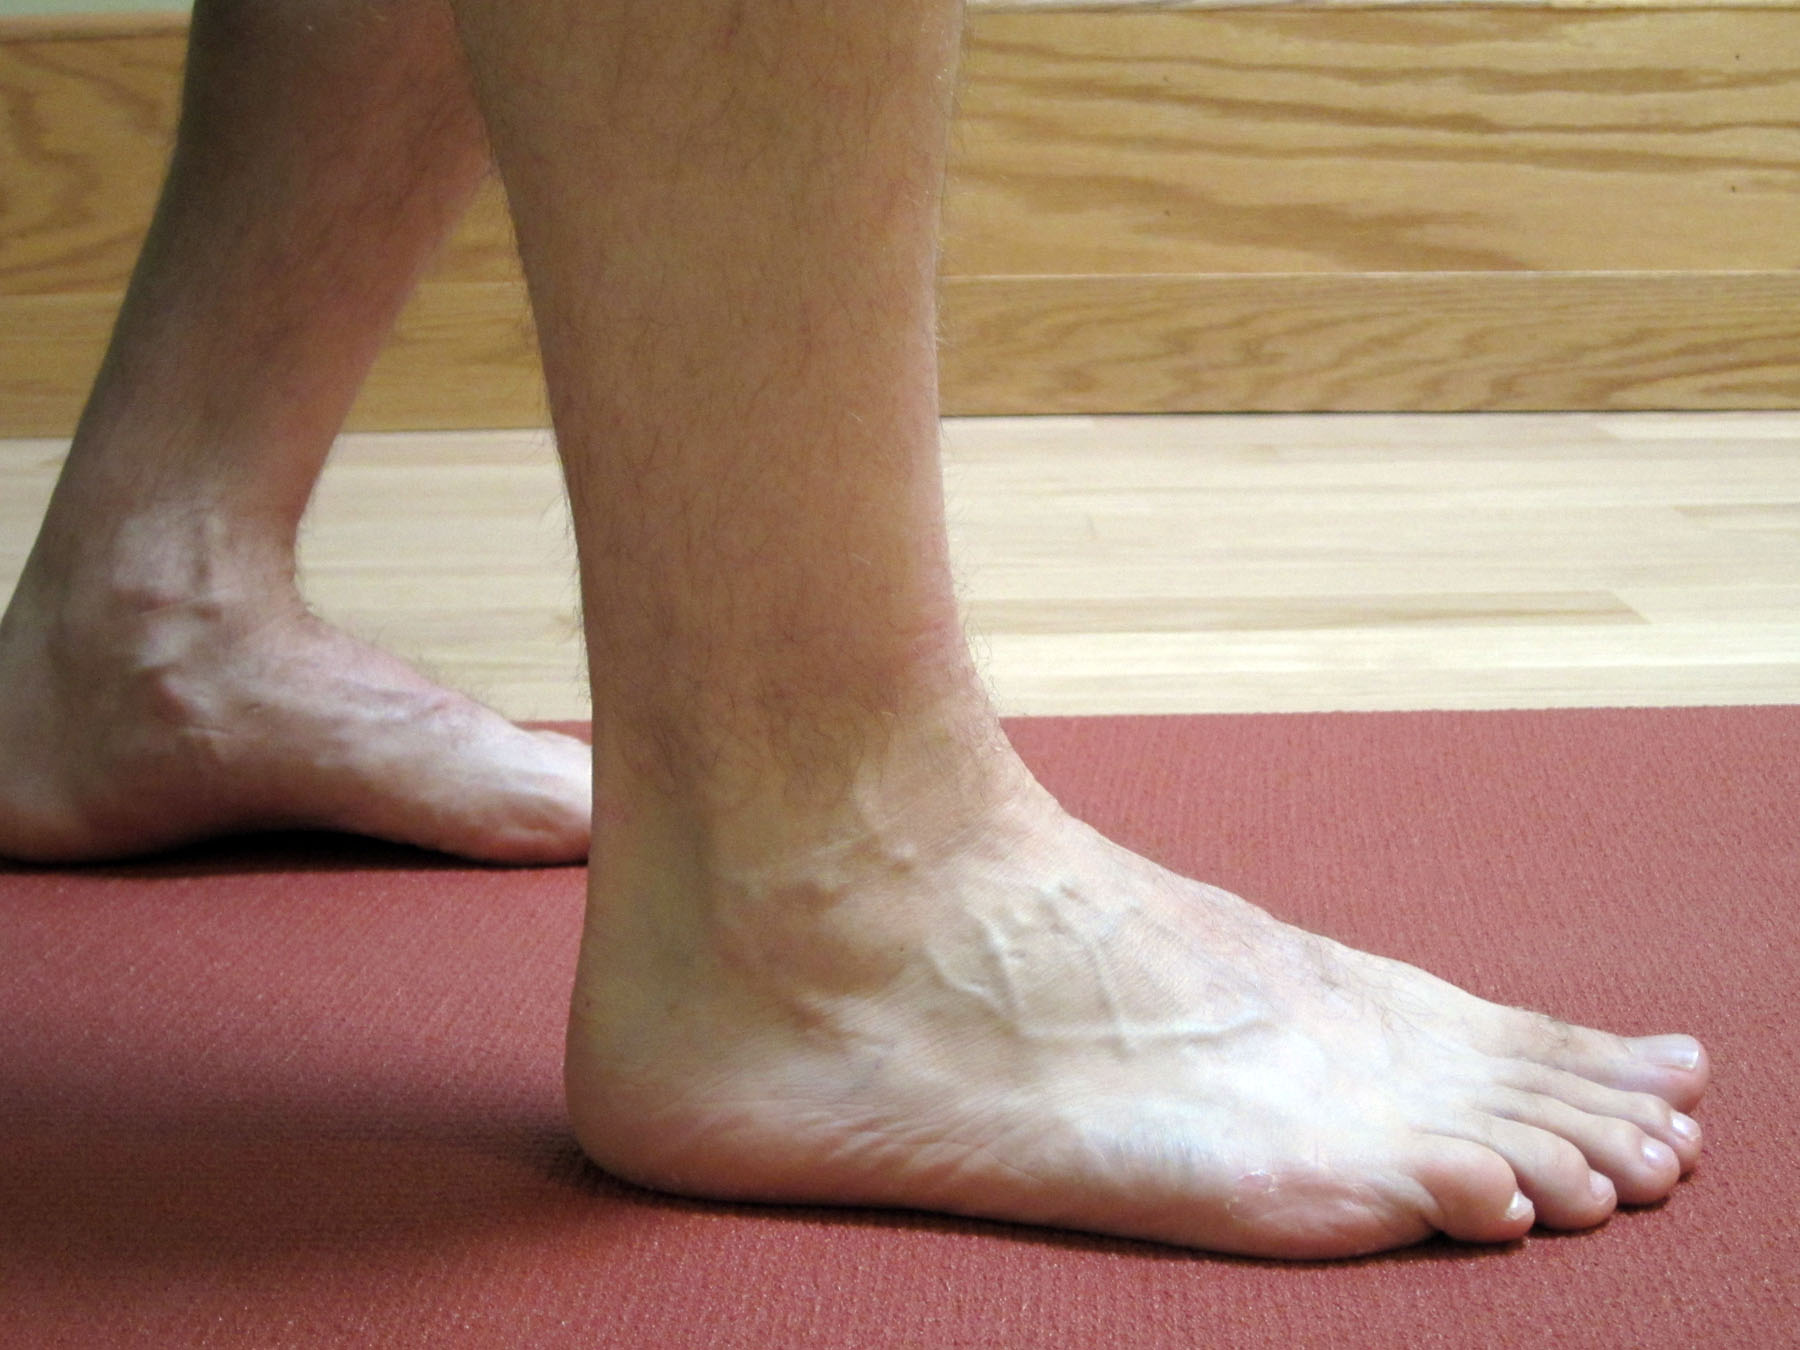
Kinesiological Taping For Achilles Tendinitis

How does Kinesiological Tape Work?

  • Sensory Theory (also known as the Gate Control Theory) – The basic premise of this theory is that the Kinesiological tape, when applied to the skin, activates sensory receptors present on the skin. These receptors relay information to/from the brain.  Since the sensory receptors are faster than other types of receptors (such as pain) the brain reacts to the sensory information first.  This can lead to altered movement patterns and awareness to the area.  It can also allow for decreased sensations of pain.  This theory is similar as to why we think topical analgesics (such as Biofreeze) work as well as why transcutaneous electrical nerve stimulation (TENS units) can reduce pain.
  • Circulatory Theory – The basic premise of this theory is that the when the Kinesiological tape is applied with little tension it forms convolutions in the skin. These convolutions create channels and reduce pressure within the tissues, lymph system, and circulatory system which aids in blood and lymphatic flow.
  • Muscle Activation Theory – The premise of this theory is that when the Kinesiological tape is applied at different levels of tension on the skin over the muscles and tissues, the Kinesiological tape can either mechanically or neurological increase or decrease muscle activation via a nervous system response.

Presently the truth behind Kinesiological taping is that we really don’t know exactly how or why it works.  Based on my clinical experience, I believe that the Kinesiological tape interacts with the body’s tissues in different ways depending on how and where the Kinesiological tape is applied.  Depending on how the Kinesiological tape is utilized, any one or combination of the three theories is likely correct.

Research states that Kinesiological style taping is at least as effective as other minimal interventions for musculoskeletal pain which may include topical analgesics like Arnica montana (Arnica Rub) or Biofreeze.

Research has also shown that taping can reduce pain acutely within first week of injury and possibly even in cases of pain which has been present for as long as three to four weeks (or longer).

Research concludes that there are some improvements in muscle and joint range of motion (ROM) and a reduction of pain.  However, because the improvement isn’t significant or long standing it shouldn’t be used as a standalone intervention.  Kinesiological taping is best used in combination with other interventions (such as manual therapy based techniques and exercise) which have been proven to affect outcomes over the long-term.

When Kinesiological tape is used in conjunction with other treatments, it may help speed up the recovery as the Kinesiological tape can allow for other techniques to be utilized more effectively due to the loss of pain, swelling or easing of movements.

Although there have been hundreds of research studies performed, the effectiveness of Kinesiological tape is still questioned primarily due to issues with research design.  Many of the taping applications are based on theory and not science.  Since there isn’t a consistent application pattern, the research studies aren’t comparing the same techniques over large enough patient populations to show a true effect.  In addition, researchers still need to quantify how much tension is actually being used and the actual Kinesiological taping technique being used versus other types of techniques or interventions.

Unfortunately, without better quality research it’s unclear if the results shown in many of the studies are due to an actual effect or through placebo.  For now, none of the studies show significant benefits regarding long-term pain alleviation or improved strength or range of motion (ROM).  So for now, the main conclusion is that Kinesiological taping should be used only as a short-term treatment in combination with other treatments.  I personally use Kinesiological tape, and I often find that my clients experience success with specific tape applications for different conditions.

What do you use Kinesiological Tape for?

  • Reduce pain
  • Reduce swelling and edema
  • Support muscles and joints
  • Reduce muscle tension
  • Increase strength
  • Improve performance
  • Enhance or correct movement patterns through stimulation of sensory receptors
  • Provide compression
  • Enhance healing by slightly lifting skin away from sore or injured tissues to improve blood flow and lymphatic drainage
  • Support injured joints and muscles without impeding range of motion (ROM)

There are dozens of companies’ now manufacturing Kinesiological style tape.  There are many high quality tapes being manufactured with all kinds of colors, designs, and variations in adhesive quality and elasticity.  Personally, my favorite brands are based on price point and actual use.  This includes ease of application and how long the Kinesiological tape actual stays on.  The brands I use most include:  Kinesio Tape, RockTape, Thera-Band Kinesiology tape, Spider tape, and KT TAPE.  Although there are many more brands available, I have not personally used them.

There are many different applications Kinesiological taping can be used for.  Like any treatment modality, it can work wonders for one person and do nothing for another, but should we really be surprised?  Many of our most popular pharmaceuticals are no different.  Kinesiological taping has the benefit of rarely having significant side effects.  There are rarely side effects to utilizing this style of tape as the products utilized tend to be very hypoallergenic.  Occasional skin irritation has been the only noted side effect I have known of in my clinical experience.  In order to avoid skin related issues (including application and removal tips), please refer to Skin Care with Taping.

I have found success with utilizing Kinesiological taping as an adjunct treatment strategy and as part of a complete treatment approach.  If you are interested in specific applications for different conditions, please see the following in which I demonstrate different taping techniques.

Step-by-step guides:

Kinesiological Taping for Osgood-Schlatter Disease

Kinesiological Taping for Patellar Femoral Pain Syndrome

Kinesiological Taping for Shin Splints

Video:

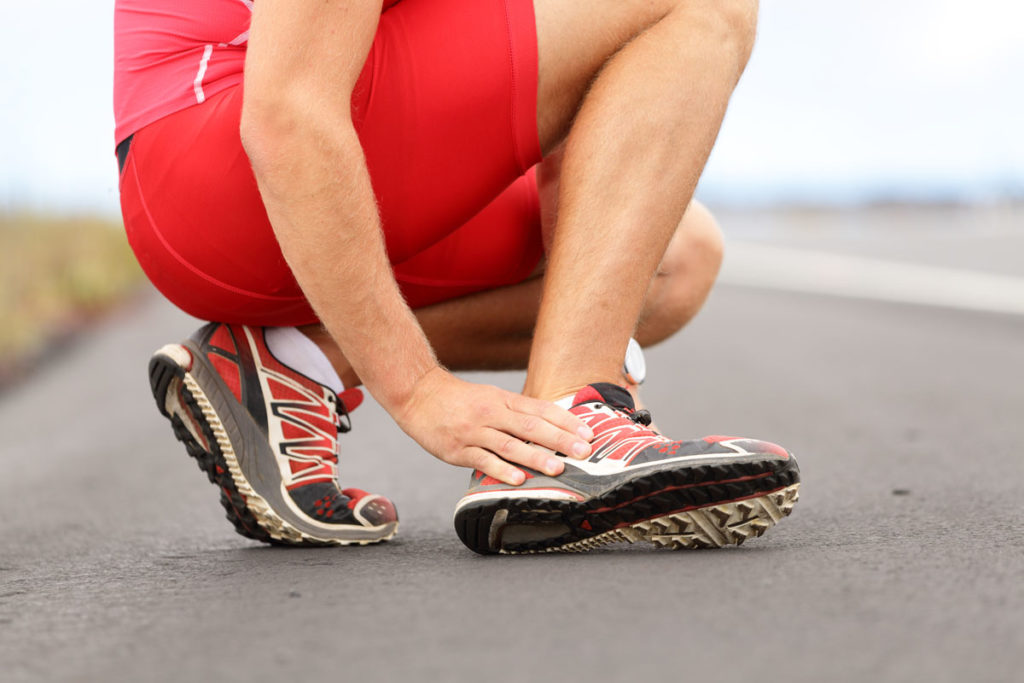
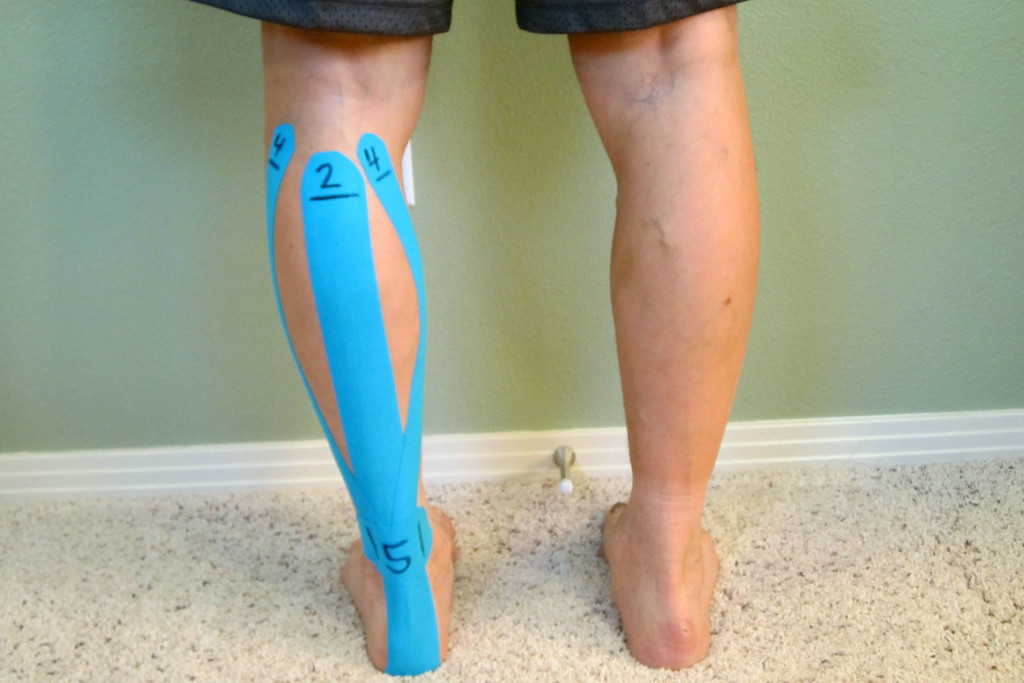
How to Apply Kinesiological Tape When Treating Achilles Tendinitis

Books with step-by-step guides specific for ankle sprains and low back pain:

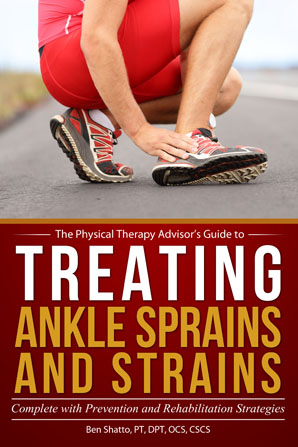
The Physical Therapy Advisor’s Guide to Treating Ankle Sprains and Strains

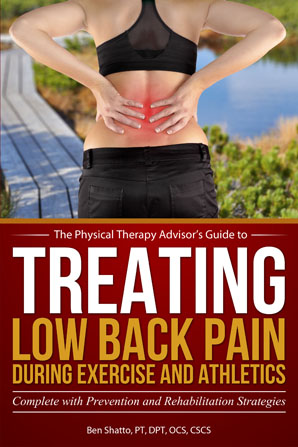
The Physical Therapy Advisor’s Guide to Treating Low Back Pain During Activity and Exercise

Have you tried using Kinesiological taping before?  If so, what was your experience like, and did it help you?  Please leave your comments below.

If you have a question that you would like featured in an upcoming blog post, please comment below or submit your question to contact@thePhysicalTherapyAdvisor.com.  Be sure to join our growing community on Facebook by liking The Physical Therapy Advisor!

My Top 3 Most Popular Posts of 2017!

As 2017 comes to a close, I become increasingly more excited for the years to come!  As science evolves and its understanding of how the human body functions, we’re seeing more technology that can help to enhance our lives and optimize function.  More people are realizing the value of taking control of their health care and personal well-being.  In today’s health care environment, we all need to learn how to treat common aches and pains proactively instead of reactively.  We must get to the root of the issue instead of placing a Band-Aid over it.  Our present health care system in America is not designed to help you optimize your health–that is your job!  

The purpose of The Physical Therapy Advisor is to help people like you to take control of your health and to save money by learning how to safely self-treat and manage common musculoskeletal, neurological, and mobility related conditions safely and effectively.

Image courtesy of Unsplash.

My Top 3 Most Popular Posts of 2017:

  1. Why You Won’t Heal – Poor Nutrition (Part 4) – You will discover why consuming the proper nutrients is critical in order to fully heal and recover from an injury or illness in part 4 of my very popular 6-part series, Why You Won’t Heal.  The feedback was so positive that I written an even more thorough book on the topic!  Keep an eye out for Why You Won’t Heal (and What YOU Can Do About It) to be published in spring of 2018.
  1. How to Become a Resilient Runner – You will learn how to become a resilient runner so you can avoid injury, train more, recover quicker, and save money.  The Resilient Runner program, which includes prevention and self-treatment for running injuries, is a collaboration with Angie Spencer (RN and Certified Running Coach) and Trevor Spencer (co-host of the Marathon Training Academy Podcast).  The program is a virtual library of self-treatment protocols including downloadable podcasts, videos, and .pdf files of rehabilitation guides.  It also includes a 320 page eBook, The Resilient Runner, Prevention and Self-Treatment Guide to Common Running Related Injuries.  This is a must have program in order to learn how to prevent and/or self-treat lower extremity pains and injuries.
  1. Why Does My Shoulder Hurt? – I discuss the most common reasons why you may develop shoulder pain.  You will discover the key to treating most common shoulder related pain.  In addition, learn how to improve your posture while focusing on thoracic mobility and proper shoulder strengthening.  I offer simple stretches and exercises that you can use to eliminate the pain.

2017 has been an exciting year!  I have successfully published three books (which are now available on Amazon in Kindle and paperback formats) with wonderful feedback!  I am so grateful that more people are beginning to understand that many of the most common aches, pains, and musculoskeletal injuries can be safely managed and self-treated with proper guidance.

In Treating Ankle Sprains and Strains, I show you how to effectively self-treat and manage an ankle sprain and/or strain in order to resume your training and normal activities while minimizing the risk of additional damage, injury or re-injury.  When you can confidently self-treat, you can limit pain levels, return to activity faster, prevent reoccurrences, and save money!  A proper rehabilitation from the initial injury to the full return to sport and/or activity must include a full return to strength, mobility, and balance.

In Treating Low Back Pain during Exercise and Athletics, I share very specific strategies for general LBP prevention among athletes such as sport enthusiasts, CrossFitters, weightlifters, and runners.  These principles are helpful for anyone participating in athletics as well as those implementing a healthy lifestyle.  You’ll learn how to address specific causes of LBP as well as the best practices on how to prevent and self-treat when you experience an episode of LBP. 

In Preventing and Treating Overtraining Syndrome, I show you how to recognize the risk factors and symptoms of Overtraining Syndrome (OTS).  You’ll learn how to utilize prevention strategies to help you develop a personal training strategy that will allow you to push past your limits and prior plateau points in order to reach a state of what is known as overreaching (your body’s ability to “supercompensate”).  This will speed up your results, so that you can train harder and more effectively than ever before!

Be sure to stay tuned for upcoming books including Why You Won’t Heal (and What YOU Can Do About It) and Running an Injury-Free Marathon (Complete with Training and Rehabilitation Strategies)!

Thank you for supporting The Physical Therapy Advisor!  I look forward to serving you in 2018!  If you have a question that you would like featured in an upcoming blog post, please comment below or submit your question to contact@thePhysicalTherapyAdvisor.com.  Be sure to subscribe to my e-mail list and join our community on Facebook by liking The Physical Therapy Advisor!

How to Prevent an Ankle Sprain

Ankle sprains and strains are a common everyday occurrence.  In most cases, the injury is nothing more than a nuisance that temporarily affects your training and mobility.  However, severe cases can lead to a lengthy rehabilitation and even surgery.

Once you have experienced an ankle sprain, you’re at a higher risk for repeated injury.  Even a minor sprain can derail your training or race day preparations.  In order to avoid an ankle sprain, it’s critical to adopt a prevention strategy as part of your cross training routine.  Strength, balance, and adequate foot and ankle mobility are the key components to preventing an ankle sprain/strain.  Continue Reading

Treating Ankle Sprains and Strains (2017)

HAVE YOU EVER INJURED YOUR ANKLE AND ICED IT LIKE YOU’RE “SUPPOSED TO,” AND THEN LATER DOWN THE ROAD YOU RE-INJURE IT YET AGAIN?

Yes!  Ankle sprains and strains are a common everyday occurrence and even the mildest of sprains can temporarily affect your training and mobility.  A sprain/strain can lead to chronic issues and loss of performance later in life when not properly cared for and managed.  Severe cases can lead to lengthy rehabilitation and even surgery.

Icing alone won’t heal the injury over time, and then the doctor bills start to add up as you seek help.  With the cost of healthcare on the rise and no sign of that trend improving, it’s even more necessary to learn how to safely self-treat and manage common musculoskeletal and mobility related conditions.

How about a better way to safely self-treat and manage an ankle sprain/strain?

When you can confidently self-treat, you can limit pain levels, return to activity faster, prevent reoccurrences, and save money!  In Treating Ankle Sprains and Strains, you will learn how to confidently self-treat in order to resume your training and normal activities without the risk of additional damage, injury or re-injury.

I will walk you through the treatment plan on how to rehabilitate your ankle by beginning with the acute phase of rehabilitation through the intermediate (sub-acute) phase of rehabilitation and concluding with a return to full activity and sport.  In this step-by-step rehabilitation guide (complete with photos and detailed exercise descriptions), you will discover how to implement prevention and rehabilitation strategies so that you can safely return to activity.  Let’s get started!

Why a Simple Ankle Sprain can lead to Long Term Debility

Ankle sprains are the most common orthopaedic injury and can happen to anyone at any age.  In general, an ankle sprain occurs when you twist your ankle too far.  It causes the ligaments (which support the ankle) to get stretched and/or torn.  Depending on the severity and the ligament damaged, a sprain may take from several weeks to months to fully heal.  The more pain, swelling, and bruising you experience initially often indicates the severity of the injury (possibly indicating a longer recovery).

An ankle sprain is such a common occurrence that it’s often marginalized as an injury.  Most people simply take it easy for a while until the pain of the sprain decreases to point that normal activities can be resumed.  What many people do not realize is that a poorly rehabilitated sprained ankle can lead to long term debility.  It can be even be associated with pain and debility elsewhere as the body is forced to compensate for a poorly functioning ankle.

One of the most common issues following an ankle sprain is the lack of dorsiflexion (the ability to move the ankle up toward the shinbone).  This loss of ankle mobility forces a person to alter his/her gait pattern to compensate for the lack of mobility by taking shorter steps or rotating his/her leg or foot externally (outward).  Over time, this causes additional stress and potentially pain and/or injury in the arch of the foot, knee, and hip.

As a physical therapist, I have treated many people who have experienced a past ankle sprain which led to poor ankle mobility.  Now they are experiencing a myriad of orthopaedic issues simply from a past ankle sprain.

In addition, a chronically sprained or severely sprained ankle that isn’t properly treated could present with ligament deficiencies.  This means that one or more of the ligaments in the ankle were completely torn or significantly overstretched.  An unstable ankle that is not rehabilitated appropriately tends to force individuals into self-regulating activities.  Some slowly become more sedentary either due to ongoing pain or the fear of falling.  In a well rehabilitated ankle, one can learn to compensate by utilizing muscle strength and motor control in order to manage pain and discomfort while maintaining mobility.  In some cases, surgical intervention will be required to repair the torn ligaments.

The importance of proper treatment and rehabilitation after even a minor ankle sprain cannot be overstated!  The key is to insure that you completely recover from the injury.  Otherwise, you’re at risk for repeated injury when you don’t complete the necessary course of rehabilitation.  Once you have experienced an ankle sprain, you are more likely to experience another one if you don’t properly rehabilitate your ankle and address any precipitating factors that may increase your risk of repeated injury.

Knowing how to effectively self-treat and manage ankle sprains and strains is important in order to resume your training and normal activities without the risk of additional damage, injury or re-injury.  When you can confidently self-treat, you can limit pain levels, return to activity faster, and prevent reoccurrences.

AVAILABLE NOW ON AMAZON!

In my book, Treating Ankle Sprains and Strains, you will learn how to safely and confidently self-rehabilitate a common ankle sprain.  It will guide you through the ins and outs of self-treating your ankle so you can avoid costly rehabilitation bills.  Beginning with the acute phase of rehabilitation, I will walk you through the treatment plan on how to rehabilitate your ankle through the intermediate (sub-acute) phase of rehabilitation and return to full activity and sport.

Learn how to safely self-treat and properly rehabilitate your ankle so you can get back to your daily life and exercise goals more quickly without additional costly medical bills!

BUY NOW

How to Self-Treat an Ankle Sprain (Part III)

As a physical therapist, I find that the most exciting part of a person’s rehabilitation is the full return to function, activity, or sport.  Countless variations of exercises and activities are performed while working toward restoring the full functional use of the ankle.  Concluding the three part series, the final stage in rehabilitation is centered on improving ankle and foot strength, stability, as well as addressing any balance deficits.

How rehabilitation progresses will vary greatly for each individual.  Therefore, no treatment plan will be alike.  For discussion purposes, I will address a generic treatment plan, which should be modified for your personal needs and activity level.  In this final stage of rehabilitation, you will progress to normal daily activities, including any athletic endeavors.  This is also when you work toward limiting any future reoccurrences of the sprain.

At this stage in recovering from a lateral ankle sprain, you should be walking relatively normally and mostly pain-free.  Running and more active side-to-side movements likely still cause pain.  Although not contra-indicated, these types of activities should be limited (unless you’re wearing a good lace up brace or are being regularly taped by a professional).

The initial portion of the rehabilitation is centered on improving ankle and foot strength, stability, as well as addressing any balance deficits.  This process begins with statically based exercises and activities.  Ultimately, it progresses into dynamic strength, balance, and mobility activities.  How rapidly a person progresses in this phase is wildly variable.  The key is to progress at your own pace.  If you start experiencing increasing pain, feelings of ankle instability, and sensations that it may “roll” or sprain again, then you need to taper down your activity level.  After the pain subsides, continue to focus on the activities that that didn’t cause pain or discomfort previously.

The following treatment plan includes exercises for strength and balance as well as mobility drills and full athletic simulation drills.  Each category is listed in an easiest to most challenging format.  You shouldn’t progress to the next exercise until the first one is mastered.

Strength

  • Heel/Toe Raises – A person should be able to perform 25 heel raises in a row with only minimal fingertip assistance on a counter top.  A normal amount of calf strength would be considered once you can perform 25 heel raises. 

HeelToeRaisesCollage

  • One Leg Squat – Perform a one leg squat without using your hands for balance to increase the difficulty level.  The one leg squat on your tip toes is a harder variation which involves more calf muscle activation.  Start with two sets of 10 repetitions, then progress to three sets of 10 repetitions.

OneLegSquat_Collage

  • Clock Exercise – Stand on your affected (injured) foot and attempt to touch your tip toe of the non-affected side as far out as you can reach.  Bring your foot back to the center or starting point according to the hands on a clock.  For example, 1 o’clock to 6 o’clock (clock-wise) or 12 ‘o clock to 6 o’ clock (counter clock-wise) depending on which foot is affected.  Perform the routine between three to five times slowly.

ClockExercise

Balance

  • Stand on one foot – A 30 second hold with eyes open during the first time, then closed during the second time, is considered normal.
  • Stand on one foot on a pillow – A 30 second hold for two to three repetitions.  As you progress, stand on the pillow and perform the Clock Exercise as described above.
  • Stand on one foot and bounce a ball against a wall.
  • Stand on a Wobble Board, Bosu Balance Trainer or other unstable surface.

Mobility Drills

  • Initially, start with forward and backward movements and progress from a walk, to a jog, to a sprint.
  • Jump Rope
  • Side Stepping – Progress the speed as pain allows and if you’re not experiencing the feeling of instability.
  • Karaoke or Grapevine – Walk or run sideways while alternating the placement of the foot either in front or behind the other.
  • Sprint Ladder – A number of agility drills can be performed with the sprint ladder.  Search YouTube and pick your favorite video which closely mimics the footwork desired for your particular sport or activity.
  • Short side-to-side Wind Sprints – While sprinting, touch your hand to the ground at each change of direction.

Full Athletic Simulation Drills

  • Depending on your sport of choice, return to your sport specific training drills.  You may still require additional support.  I recommend wearing a good lace up brace or being taped by a professional for support.  Additional support should only be used temporarily and with the intention of progressing from using them as your ankle can tolerate.

If you continue to experience pain and swelling, and/or require an accelerated time table for recovery (or return to competition), then I recommend the services of a sports medicine physical therapist or athletic trainer.  Many modalities, such as electrical stimulation, manual techniques and taping methods can assist in recovery when properly utilized.  To find a qualified physical therapist in your area, search at American Physical Therapy Association (APTA).

Depending on your time table for recovery and the severity of your injury, the information provided in this three part series on ankle sprains will likely be very helpful in your recovery.  Each person and injury is different.  If you’re interested in a more complete and comprehensive look at self-rehabilitating an ankle sprain, be sure to check out Treating Ankle Sprains and Strains.

Knowing how to effectively self-treat and manage ankle sprains and strains is important in order to resume your training and normal activities without the risk of additional damage, injury or re-injury.  When you can confidently self-treat, you can limit pain levels, return to activity faster, and prevent reoccurrences.

AVAILABLE NOW ON AMAZON!

In my book, Treating Ankle Sprains and Strains, you will learn how to safely and confidently self-rehabilitate a common ankle sprain.  It will guide you through the ins and outs of self-treating your ankle so you can avoid costly rehabilitation bills.  Beginning with the acute phase of rehabilitation, I will walk you through the treatment plan on how to rehabilitate your ankle through the intermediate (sub-acute) phase of rehabilitation and return to full activity and sport.

Learn how to safely self-treat and properly rehabilitate your ankle so you can get back to your daily life and exercise goals more quickly without additional costly medical bills!

BUY NOW

How to Self-Treat an Ankle Sprain (Part II)

Ankle sprains are one of the most common and prevalent musculoskeletal injuries.  Although more likely to occur in children, ankle sprains can happen to anyone anytime.  In my last post, How to Self-Treat an Ankle Sprain (Part I), I addressed how to handle the initial acute phase of an ankle sprain.  I will continue to guide you through the treatment plan on how to rehabilitate your ankle in this three part series by addressing the progression from the acute phase into the intermediate phase.

Sprains are categorized as Grade I, II, or III.  A Grade I sprain is the most common.  It’s typically associated with only mild damage to the ligament, and instability doesn’t affect the joint.  A Grade II sprain is a partial tear to the ligament and is usually associated with some laxity (hypermobility).  If this occurs, it’s best to wear a brace for several weeks.  Ideally, scar tissue will form and compensate for the lax ligament, so the joint doesn’t become hypermobile.  Good muscle strength and proprioception of the lower foot is important to limit future sprains.  In Grade III sprains, a full tear of the ligament occurred.  One typically consults with an orthopaedic surgeon for possible repair.  After surgery, a guided physical therapy program is recommended.

For discussion purposes, I will only address a Grade I sprain.  Initially, one may wear an air splint, ACE wrap, or some other lace-up or slip-on style brace to help with stability, inflammation, and pain control of the ankle.  In most cases, a person will want to transition from wearing the brace as soon as the initial pain subsides.  (If one had a Grade II sprain, he/she would wear a splint for several weeks so that the ankle would initially stiffen.)

At this point in your recovery, you are likely three to seven days since the initial injury.  This phase of rehabilitation can last from seven days to several weeks before progressing into the final phase of rehabilitation (and ultimately, back to full function).  Progression out of the intermediate phase is always symptom dependent.  You should be able to stand with equal weight on your feet and not experience an increase in ankle pain.  The ankle is likely stiff at this time, but it is time to start walking, progress range of motion (ROM), and start gentle resistive exercises.

Walking

If you have been using a crutch to unweight the foot, then start the progression to weight bearing during walking.  If you have been walking, then increase the amount of weight you have been putting on the ankle and foot.  At this time, the focus will be to normalize your walking pattern.  This means having a good heel strike, rolling onto the foot into full weight bearing on the leg, and then propelling forward with a good toe off.  You will continue to use the crutch as long as needed until you can walk nearly normal without limping.  Until then, utilize the crutch to unweight the leg and foot as much as necessary to perform a nearly normal walk or gait sequence.

Range of Motion (ROM)

Start to increase the range of motion of the ankle.  Initially, work to progress the plantarflexion and dorsiflexion movement (the forward and backward movement of the ankle).  As pain subsides, progress the side to side motion as well as all other motions.

Recommended Exercises:

Ankle Pumps – A very easy exercise.  Just pump your ankle forward and backward into plantarflexion and dorsiflexion movement.  Perform 10-15 repetitions several times a day on both feet.

Ankle_Combined

Ankle Alphabet – Move the foot and ankle only by pretending your big toe is a pen, and draw the alphabet using capital letters.  Perform 1-2 times a day.

Calf Stretching – Hold each stretch for at least 30 seconds, three times on each leg, 2-3 times a day.  This stretch shouldn’t cause more than a mild increase in pain or discomfort.

Calves

Gentle Resistive Exercises

Perform plantarflexion and dorsiflexion movement by initially using an exercise band.  I recommend using a Thera-Band Exercise Band.  As your pain improves, you can progress to standing heel and toe raises as long as you don’t experience more than a mild increase in pain levels.

As pain and range of motion improve, progress to inversion and eversion with the exercise band.  Stop if you experience more than a mild increase in pain levels.

Initial Balance and Proprioception Exercise

Stand on one foot. Initially, you may need to use your hand (or a finger) on a counter top for added support.  As the pain subsides and your balance improves, you may need to increase the difficulty level.  As you progress, balance will become of greater importance.

Toward the end of the intermediate phase, you should be walking fairly normally.  There will likely be some swelling.  It’s typical for some amount of swelling to come and go.  It will be directly related to how long you are on your feet and your general lower extremity circulation.  I highly recommend you continue to wear compression stockings during this time.  You may also continue to experience soreness and pain–particularly after a long day or a lot of upright activity.  Continue to utilize a regular icing protocol as needed for pain and swelling.  Also, continue to supplement with CapraFlex.

It’s time to progress into the final stage of rehabilitation once you have returned to near normal walking, your pain levels are relatively low, and you are able to complete the basic exercises listed above.  The final stage of rehabilitation includes a full return to daily activities and eventually, all sport or athletic activities.  I will address the specifics of the final stage of rehabilitation in Part III.

Knowing how to effectively self-treat and manage ankle sprains and strains is important in order to resume your training and normal activities without the risk of additional damage, injury or re-injury.  When you can confidently self-treat, you can limit pain levels, return to activity faster, and prevent reoccurrences.

AVAILABLE NOW ON AMAZON!

In my book, Treating Ankle Sprains and Strains, you will learn how to safely and confidently self-rehabilitate a common ankle sprain.  It will guide you through the ins and outs of self-treating your ankle so you can avoid costly rehabilitation bills.  Beginning with the acute phase of rehabilitation, I will walk you through the treatment plan on how to rehabilitate your ankle through the intermediate (sub-acute) phase of rehabilitation and return to full activity and sport.

Learn how to safely self-treat and properly rehabilitate your ankle so you can get back to your daily life and exercise goals more quickly without additional costly medical bills!

BUY NOW

How to Self-Treat an Ankle Sprain (Part I)

Ankle sprains are a common occurrence and can happen to anyone at any age.  The Journal of Sports Medicine (January 2014) conducted a meta-analysis on the topic of ankle sprains.  The findings concluded that women were at higher risk of ankle sprains and that children were more likely to sprain an ankle than an adolescent or an adult.  Indoor and court sports were the highest risk activity.  However, an ankle sprain can occur just as easy from stepping off a curb or accidentally on a pet’s toy.  So what is the best course of action to take upon spraining your ankle?  Starting with the acute phase, I will walk you through the treatment plan on how to rehabilitate your ankle in this three part series.  (If you’re interested in a more complete and comprehensive look at self-rehabilitating an ankle sprain, be sure to check out Treating Ankle Sprains and Strains).

AnkleSprain_1

Many different types of ankle sprains are possible, but the most common sprain is known as the lateral ankle sprain.  Initially during a lateral ankle sprain, the foot rolls inward (inverts) farther than it should which causes a “sprain” of the lateral ligaments of the ankle.  It may also affect the lateral muscles or tendons of the ankle which produce eversion of the foot.  The muscles most typically affected are known as the peroneals.  In more severe cases, the fibula bone or the fifth metatarsal bone near the pinky toe could also be injured either with a fracture or the tendon could rupture from the bone.

For discussion purposes, I will only address the basic lateral ankle sprain.  At the time of injury, a person may often feel or hear a popping sound.  This is followed by a fairly rapid onset of swelling in the ankle, typically along the lateral (outside) part of the ankle (near the bump known as the lateral malleolus).  This is also usually associated with a significant amount of pain.

Depending on the severity of the pain, the location of the swelling, and any potential bruising, your course of treatment may vary.  If you are unsure as to the severity of the sprain, are in severe pain, or you’re not sure how to handle the injury, I recommend that you seek competent advice from a medical doctor, physical therapist, or athletic trainer.

Assuming you don’t have a more serious injury, the initial course of treatment following the sprain includes RICE, which stands for Rest, Ice, Compression, and Elevation.

  • Rest – In this case, rest would indicate not using the ankle.  I would initially recommend using a crutch or crutches to either fully unweight the ankle (or at least take some pressure off) when walking.
  • Ice – Apply ice to the ankle, and the sooner, the better.  The rule for icing is to apply ice no more than twenty minutes per hour.  Do not place the ice directly against the skin, especially if you are using a gel pack style.  Individuals with poor circulation or impaired sensation should take particular care when icing.  A bag of frozen peas can be ideal.
  • Compression – Compression helps prevent and decrease swelling.  Swelling can cause increased pain and slow the healing response, so limit it as much as possible.  You can utilize a common ACE wrap or you can purchase a pair of mild over-the-counter compression socks.  If you have a friend who is medically trained, many different taping techniques can also assist in decreasing swelling.  Many physical therapists or athletic trainers can apply Kinesiology Tape or Mummy Tape for you or you can find application techniques online.
  • Elevation – Elevate means to keep the ankle above the level of the heart.  This allows for gravity to assist in keeping the inflammation and swelling down.  Typically, I would combine the ice with compression and elevation.

Gentle Movement

During the acute phase, move the ankle as much as you can tolerate.  I would not be aggressive with the movement.  I would not move the ankle if it caused more than a mild to moderate increase in pain.  This may irritate the injury and cause more swelling and inflammation.  Movement is good and helpful unless it’s causing extreme pain.  Focus on the up and down movement of the ankle (known as plantarflexion and dorsiflexion), NOT on the side to side motion (known as inversion and eversion).

Possible Supplementation

During the acute phase, I recommend starting at least a thirty day course of CapraFlex.  Capra Flex is an organic glucosamine and chondroitin supplement which also includes an herbal and spice formulation designed to naturally decrease inflammation and support healing.  I recommend it to anyone recovering from an injury or attempting to prevent injury when performing at a very high level.  I personally use it, and in my practice, it has helped clients recover faster and prevent injury.  It can interfere with some blood thinning medication, so if you are on this type of medication, please check with your physician.

The initial acute phase of an ankle sprain can last one to seven days on average.  Before progressing into the next phase of rehabilitation, you should be able to stand with equal weight on your feet and not have a significant increase in pain.  Once you can, it is time to progress into the intermediate phase (to be covered in Part II).

Knowing how to effectively self-treat and manage ankle sprains and strains is important in order to resume your training and normal activities without the risk of additional damage, injury or re-injury.  When you can confidently self-treat, you can limit pain levels, return to activity faster, and prevent reoccurrences.

AVAILABLE NOW ON AMAZON!

In my book, Treating Ankle Sprains and Strains, you will learn how to safely and confidently self-rehabilitate a common ankle sprain.  It will guide you through the ins and outs of self-treating your ankle so you can avoid costly rehabilitation bills.  Beginning with the acute phase of rehabilitation, I will walk you through the treatment plan on how to rehabilitate your ankle through the intermediate (sub-acute) phase of rehabilitation and return to full activity and sport.

Learn how to safely self-treat and properly rehabilitate your ankle so you can get back to your daily life and exercise goals more quickly without additional costly medical bills!

BUY NOW