Obstacle course racing (OCR) is growing quickly and becoming a very popular sport. It is a fun way to challenge your strength, fitness, and mental fortitude. With the proper training and recovery, this style of racing can be performed safely. Whether you are a newbie or a seasoned Spartan, I offer tips on how to optimize your racing experience.
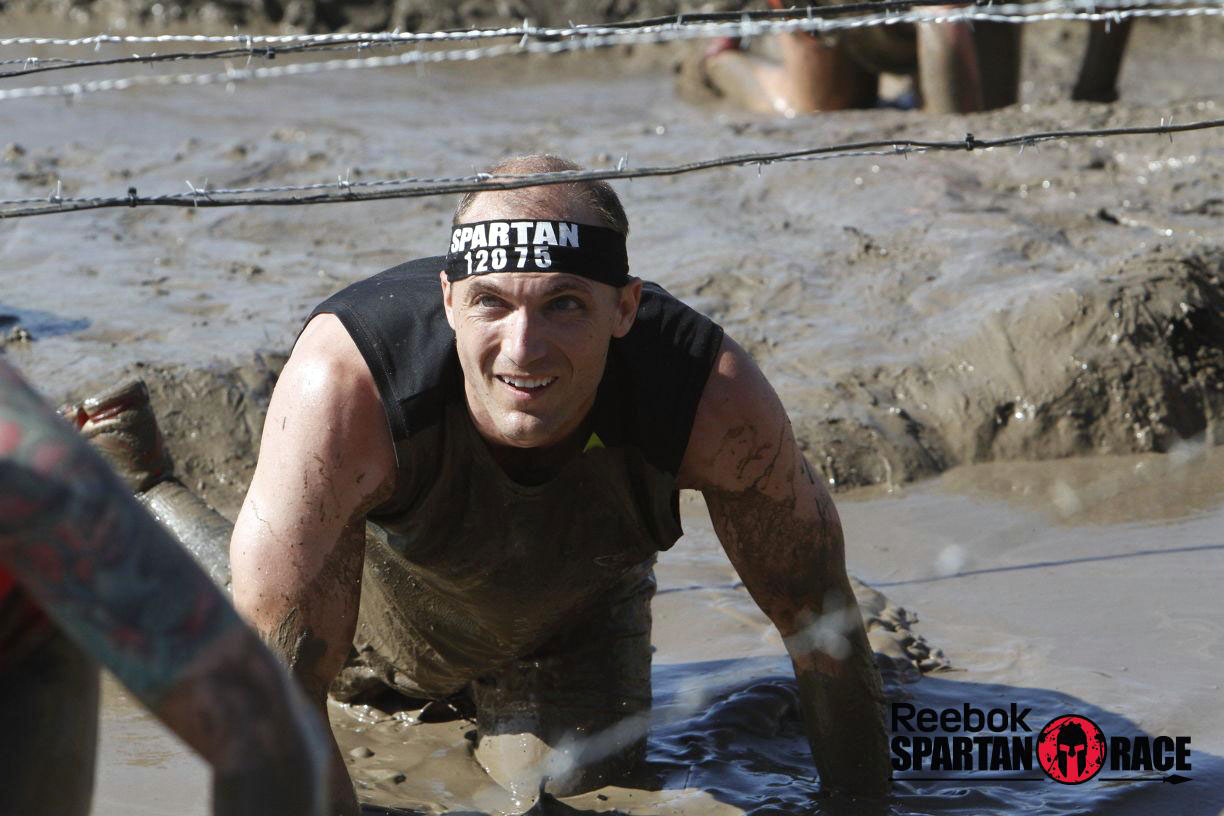
(Courtesy of Reebok Spartan Race)
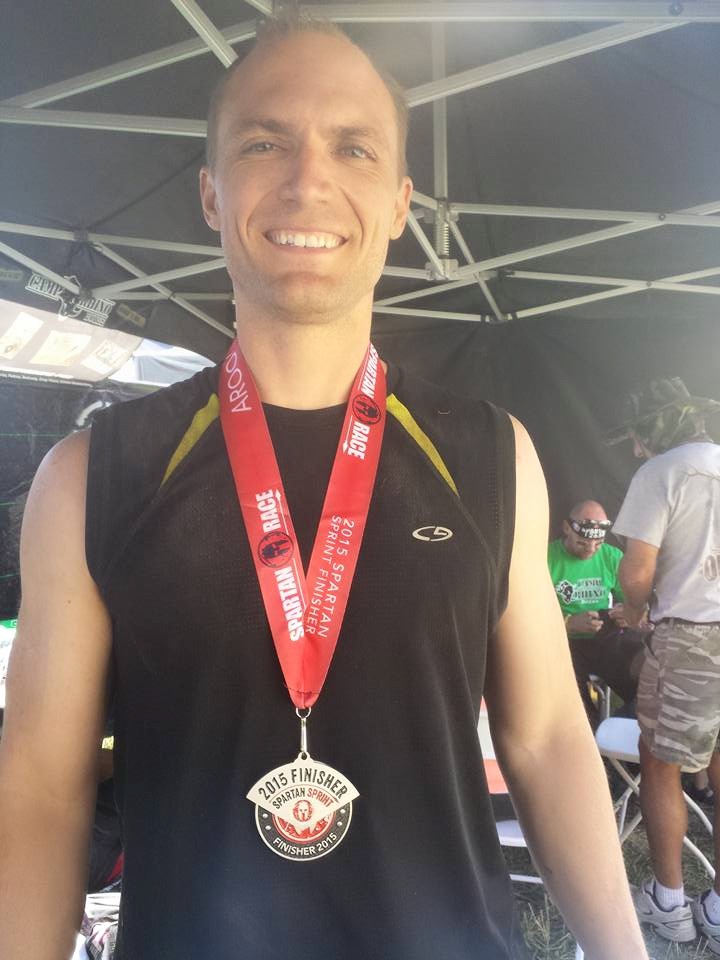
I competed in my first OCR, the Boise Spartan Sprint, thanks to a friend. She transferred her registration to me after suffering a knee injury and was unable to participate. Thank you, Jenifer, for prompting me to try something new! It was a blast!
How to prepare for an OCR? Without any prior experience, I started by listening to Ben Greenfield’s Obstacle Dominator Podcast and reading about Spartan Race Training. I have competed in many running and trail races at varying distances, so I felt that I could adequately train despite being on a long vacation the two weeks prior to the race.
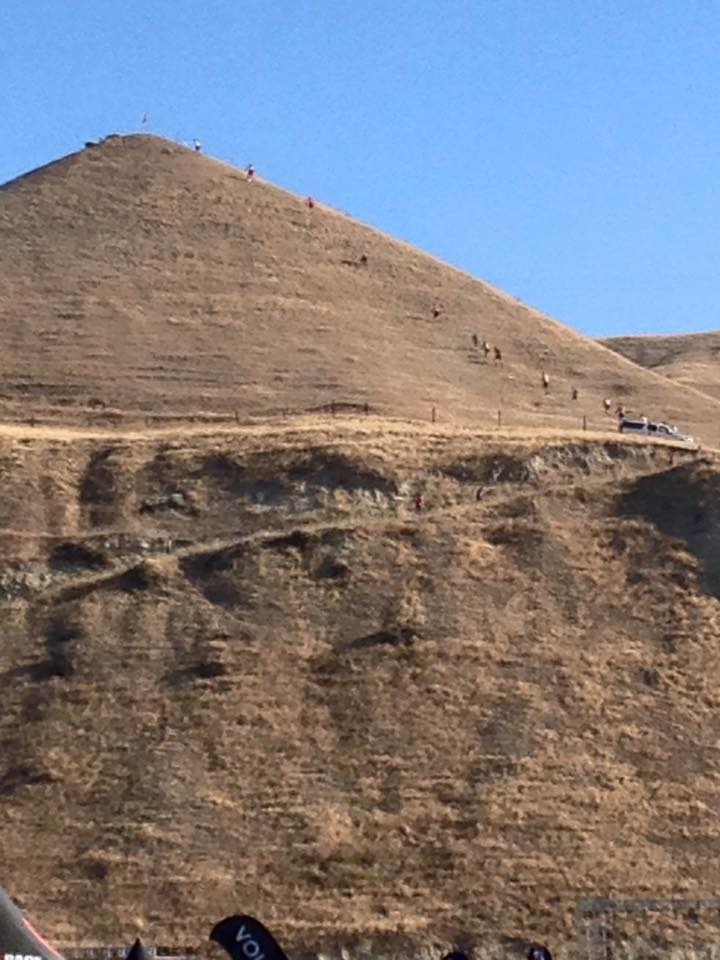
The Boise Spartan Sprint
Obstacles, courses, and distances vary for each event. This particular course offered options to skip certain obstacles, but you had to pay a 30 burpee penalty. Although there were options available to insure all who wanted to participate could, the terrain was not suitable for everyone. There were five quite steep hills to climb up and down during the 4 mile course. They were much steeper than I expected, and I’m used to hiking similar terrain while hunting.
The other surprise was how the water obstacles made for a new challenge (particularly when combined with other obstacles such as the rope climb). I am typically a pretty good rope climber, but getting a good foot hold was difficult when submerged in 3 feet of water. Fortunately, I was able to overcome the challenge.
After experiencing the general tempo of this particular course and its layout, I better understand how to train for an OCR. My final ranking was number 180 out of 3,394. Not too bad for a first attempt, but nothing like the elites! I will be sure to incorporate more of these tips and lessons learned when training for my next OCR.
7 Tips on How to Train for an Obstacle Course Race:
- High intensity interval training (HIIT). The amount of HIIT in preparation for your race will vary and is dependent on the distance. If the race course will be a shorter distance (under 5 miles), then a majority of your running could be HIIT and shorter distance recovery runs. If you will be competing in longer distances (10 miles or more), then I would still incorporate a weekly longer run just so your body will be prepared for the mileage and time on your feet. I highly recommend that you run outside–preferably on a trail or uneven terrain to prepare your legs adequately. You will need to feel comfortable running downhill on uneven terrain. Please refer to my Training Plan that I used for Race to Robie Creek, a very steep half marathon 8.5 miles uphill and 4.6 miles downhill.
- Train for the pack. In larger races or in races where there is a variation in skill levels, I recommend training for this variable. Constantly changing your running pace faster or slower is more tiring than just running at your preferred pace. One easy and effective running style to train for this variable is called the Fartlek, Swedish for speed play. It involves taking your normal forty to sixty minute run (after a warm up) and intermittently changing your pace from jogging (at different speeds) to sprinting. This can be performed in a structured form or randomly in true Fartlek style. One method is to pick objects in front of you and vary your running speed as you approach them. This is a critical training method if you want to improve your race time.
- CrossFit as a form of high intensity training (HIT) is an excellent method to train your legs to handle the hilly terrain (including a very fast and steep decent). The obstacles may include: picking up heavy objects and carrying them either in front or sometimes overhead; scaling walls; swinging and climbing along monkey bars; rope climbing; and crawling in mud. CrossFit taught me how to prepare for these different obstacles by refining the skill sets necessary to tackle them. It also prepared me to perform the obstacles when fatigued.
- Climbing Wall. One of the obstacles included traversing a climbing wall sideways for 20+ feet. Participants were not allowed to climb up or let their feet touch the ground. I suggest practicing this at a local climbing wall. Although I was able to perform the obstacle, I was much slower as I rarely spend time on a climbing wall.
- Monkey Bars. Spend time practicing swinging, climbing, and moving in different directions on monkey bars to better prepare for the different obstacles. It’s also an excellent method to increase your grip strength.
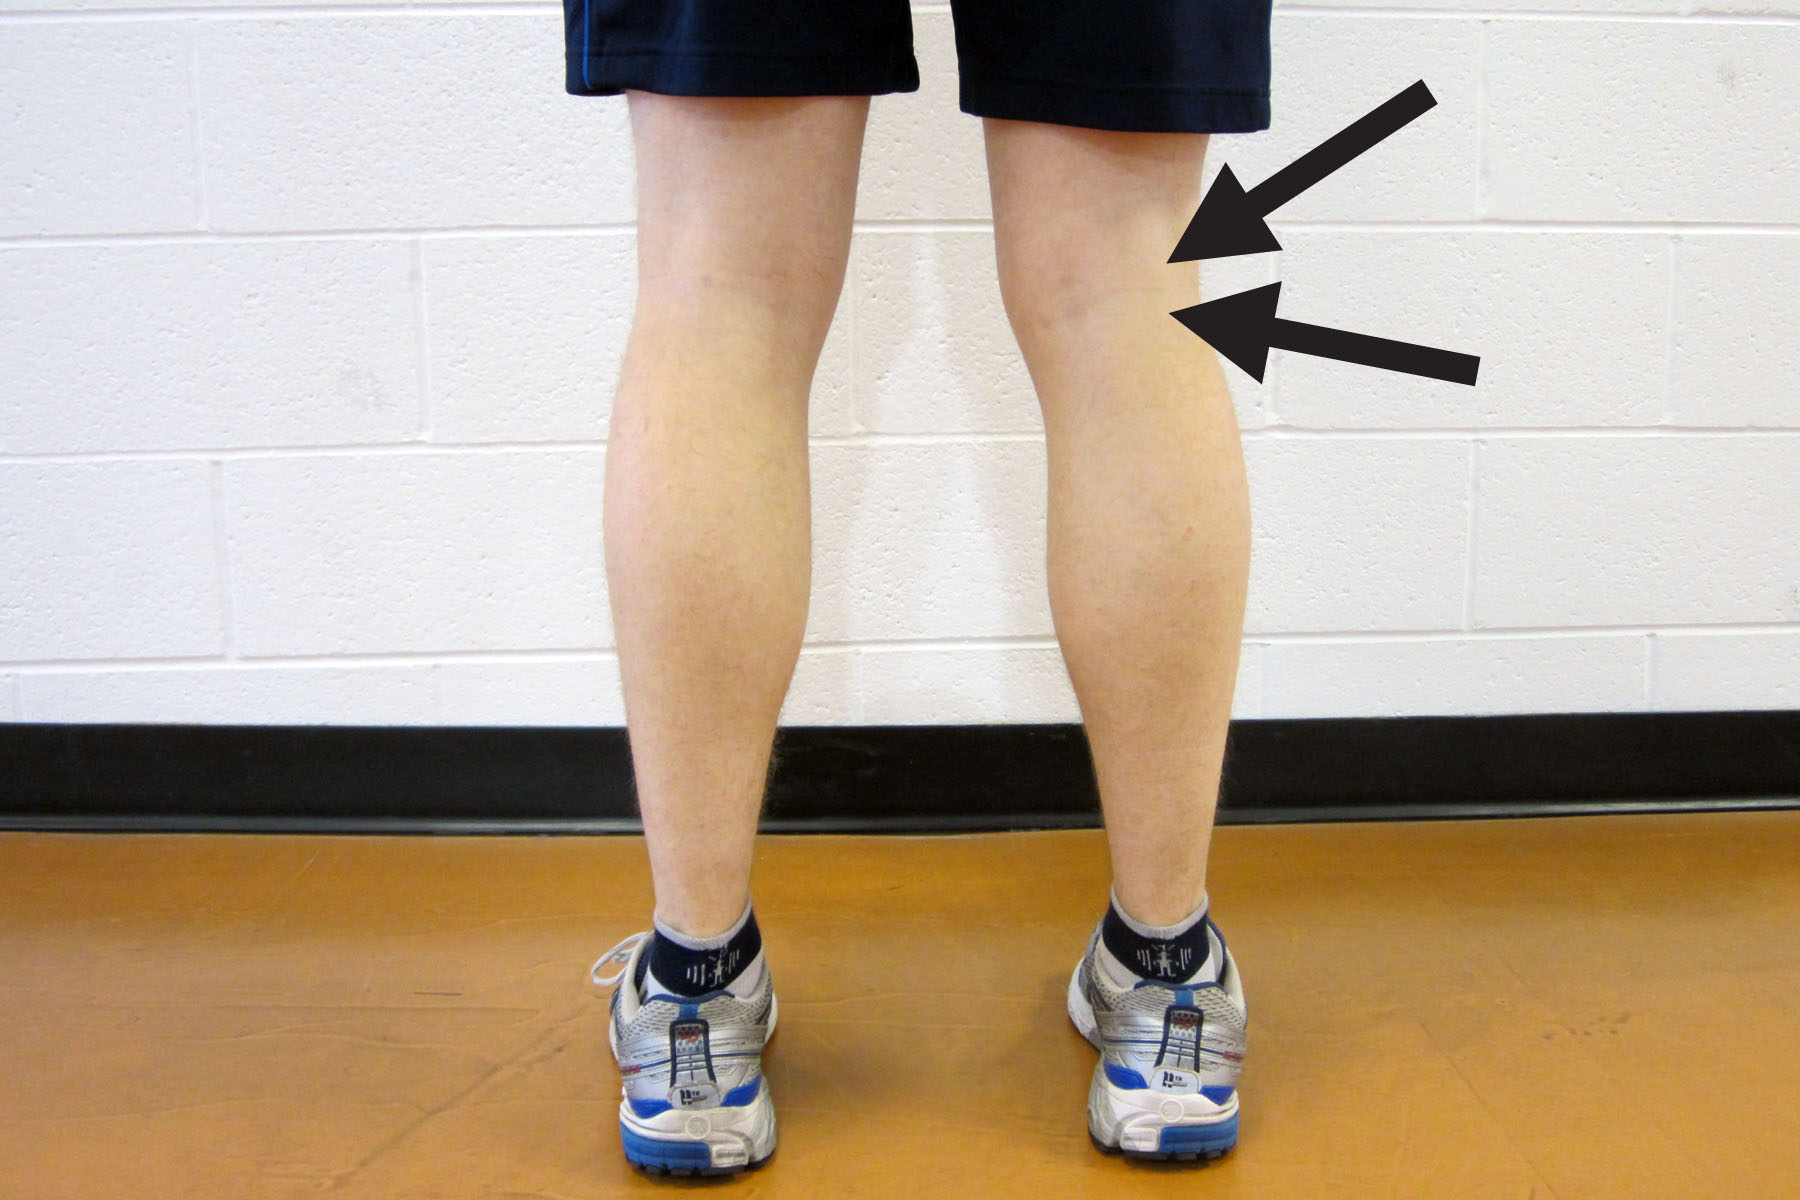
- Clothing can be an interesting variable. For my particular OCR, the temperature was quite warm (above 80 degrees). The water obstacles helped to keep my body cool. In hindsight, additional clothing should have been considered in order to avoid cuts and scrapes. I wore a long pair of compression socks to help with cramping and protection from ground cover. I wish that I would have worn knee protection. The crawling cut up my knees and made them feel sore. Also, when scaling the walls, I got scrapes under my arms because I wore a tank top. I recommend wearing clothing that will protect your body for the likely scrapes and cuts that will occur.
- Ankle Sprain Prevention. I had been warned that this particular course was hilly. In preparation, I decided to utilize Mummy Tape for ankle stability. (You can also use Rock Tape, KT Tape or any other Kinesiological style tape.) This video, KT Tape Ankle Stability, demonstrates the technique I utilized to help improve my ankle stability in order to prevent an ankle sprain. For application and removal tips, please refer to Skin Care with Taping.
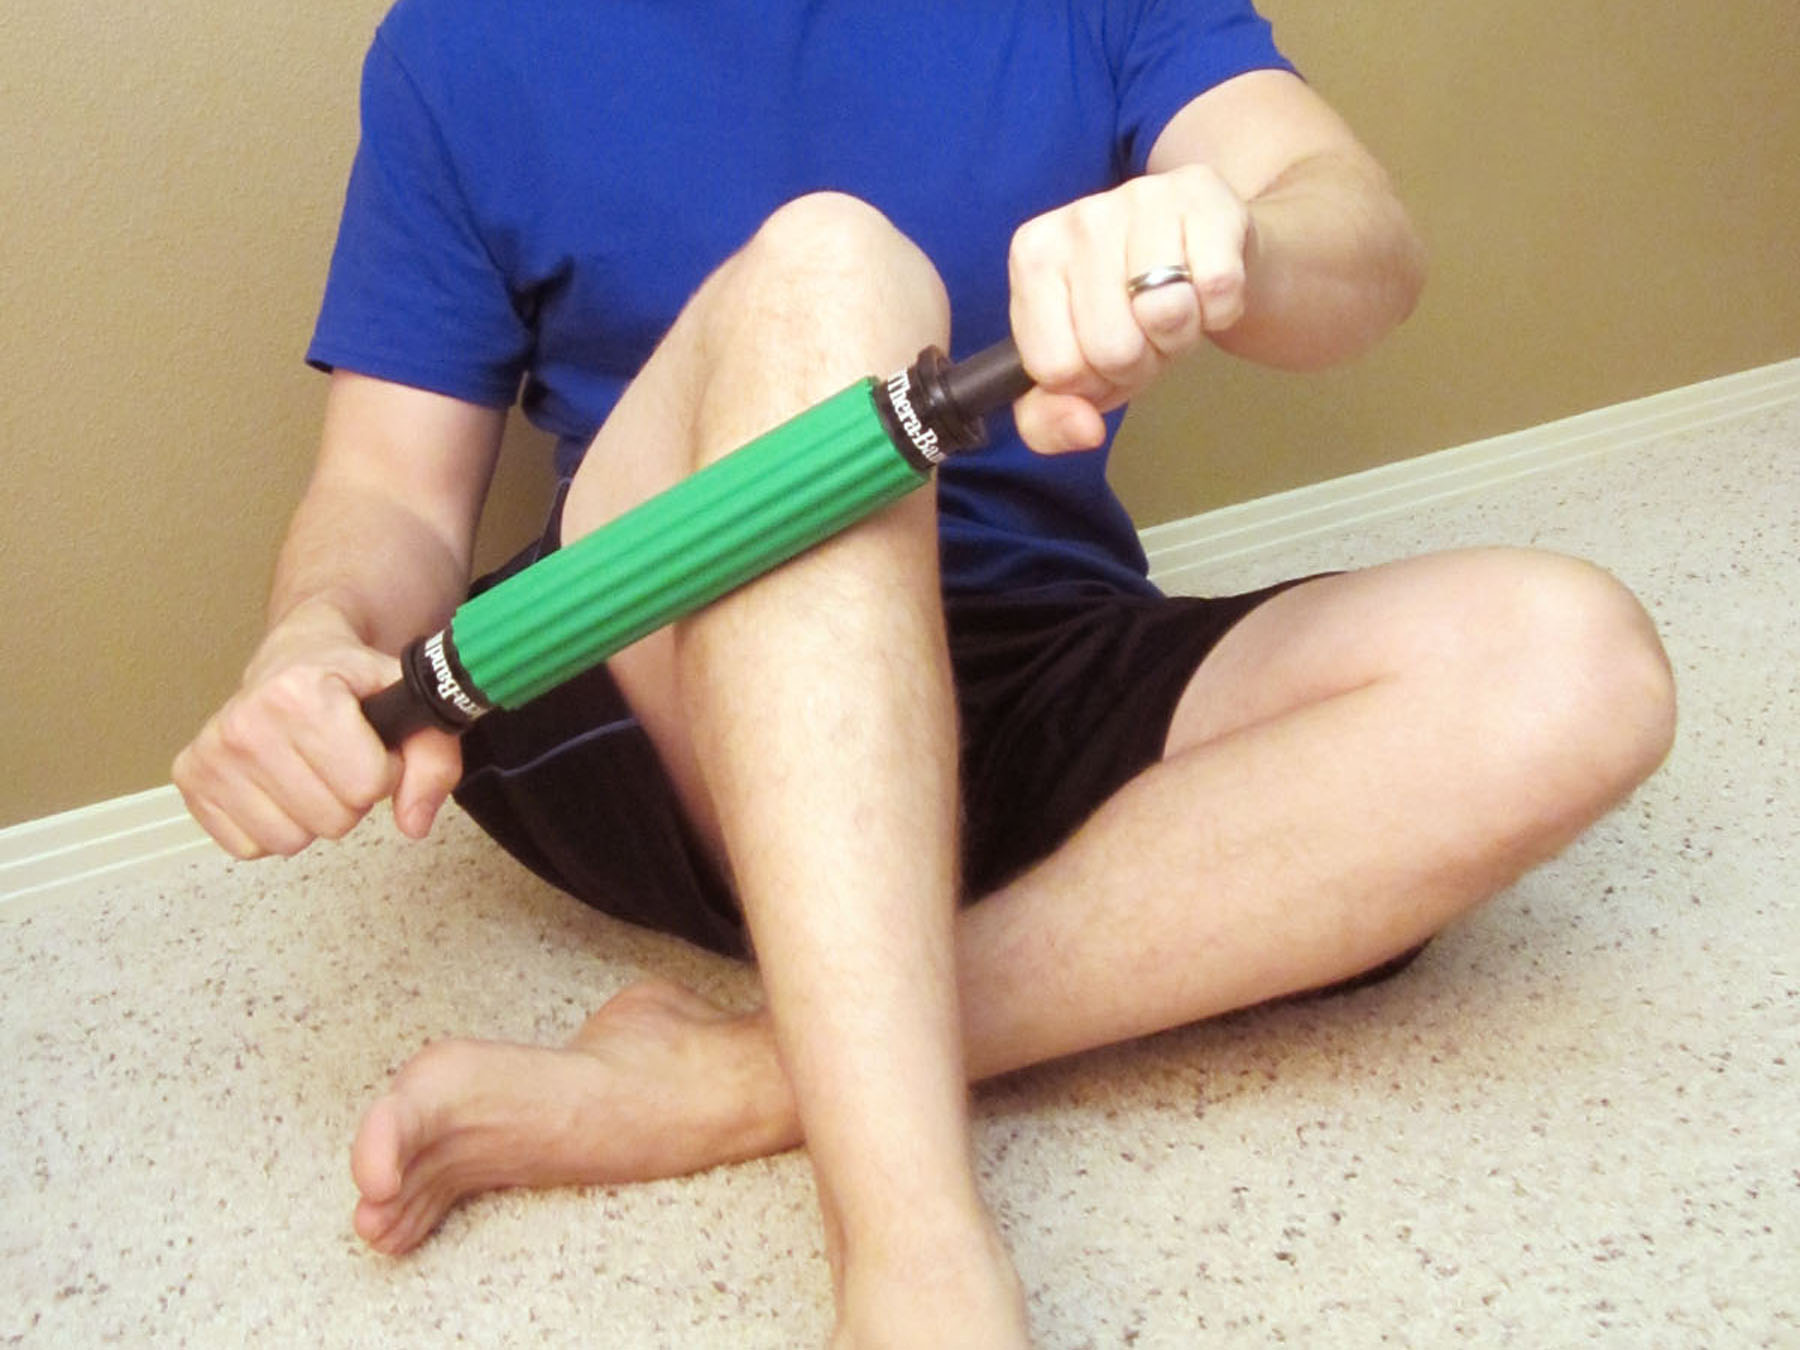
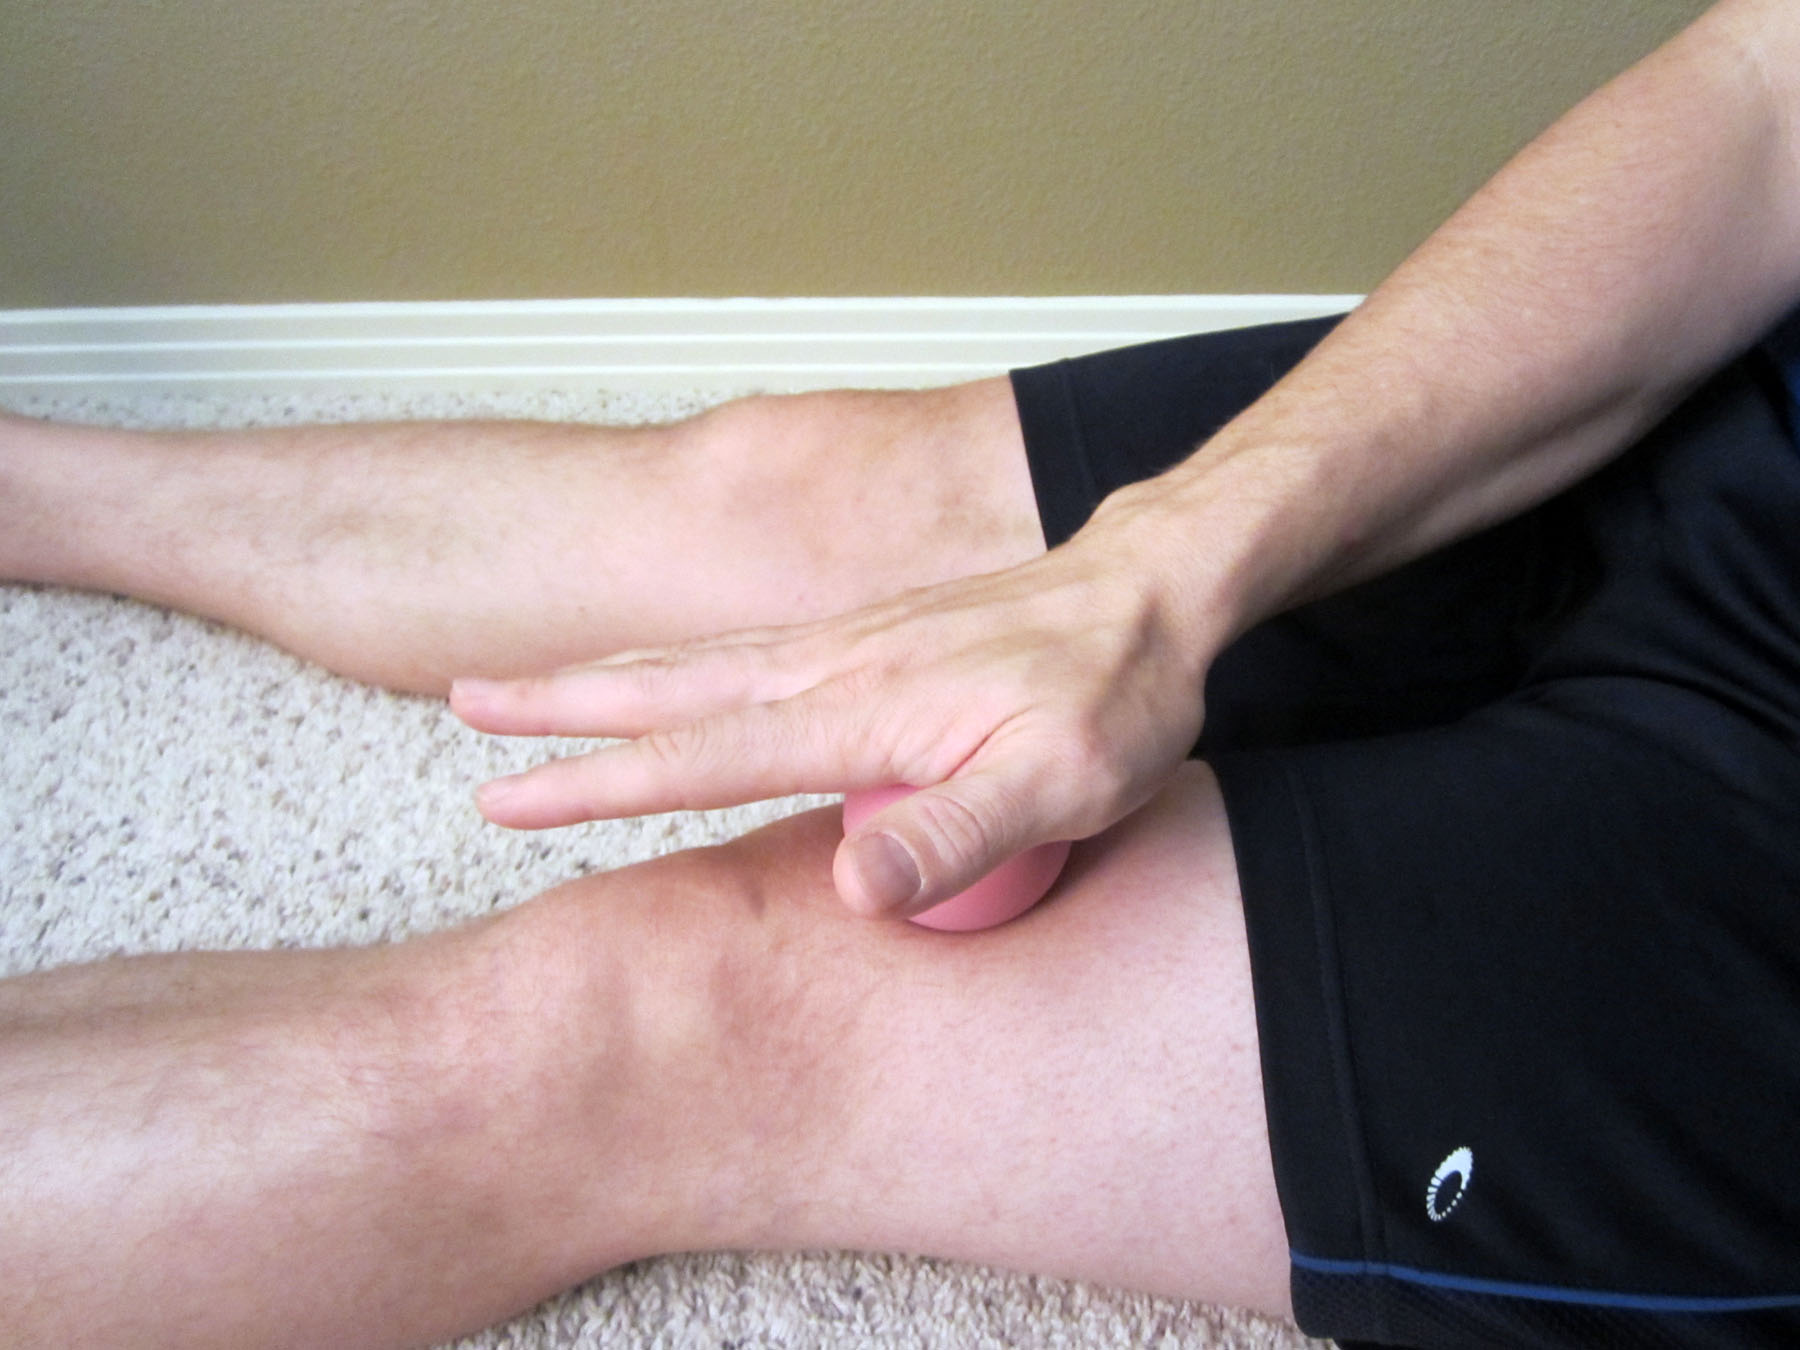
Once you complete the OCR, enjoy your accomplishment, but don’t forget to implement proper recovery strategies! Be sure to properly cool down after the race. Don’t sit! Stretch and continue to move. You will need to make sure that any scratches or wounds are properly cleaned and covered. Hydrate appropriately and begin working through your recovery process. For more information on how to quickly recover, please refer to the following posts: 14 Tips and Strategies to Self-Treat Muscle Pain and Muscle Cramping & Spasms – Treatment Options.
Have you competed in an OCR before? Please share your experience by leaving a comment below.
If you have a question that you would like featured in an upcoming blog post, please comment below or submit your question to contact@thePhysicalTherapyAdvisor.com. Be sure to join our growing community on Facebook by liking The Physical Therapy Advisor!